Changing the name on your DIMEX card is an important task for anyone living in Costa Rica. The DIMEX, or Documento de Identificación Migratorio para Extranjeros, is your primary residency card. It’s essential to keep your personal information accurate and up to date.
Navigating the legal requirements for this process can be complex. You must understand the specific administrative protocols established by the government. This guide will help you manage the necessary documents and appointment scheduling effectively.
Whether you are a new resident or have lived here for years, maintaining your residency card status is crucial. We are here to assist you in ensuring your DIMEX card reflects your current information. Keeping it updated not only helps with legal compliance but also enhances your experience in this beautiful country.
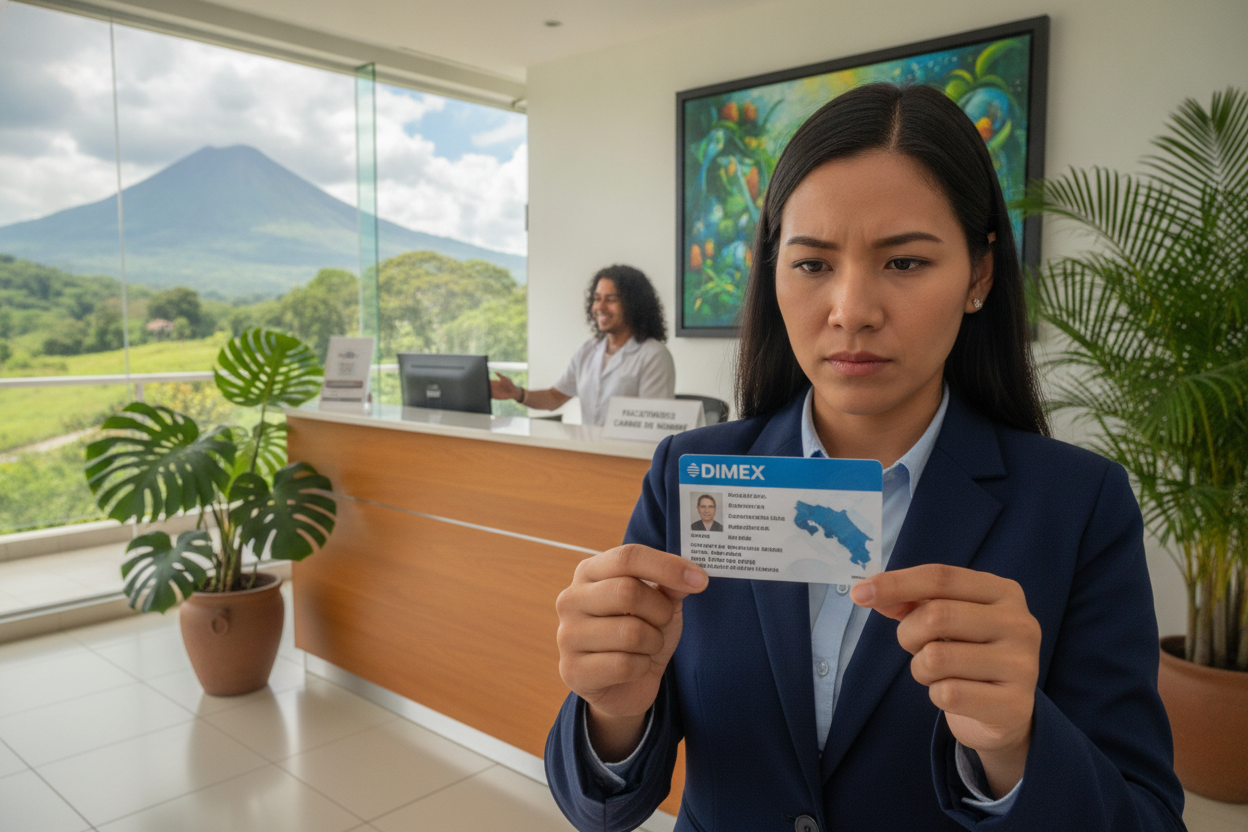
Understanding Costa Rica DIMEX Cards and Their Purpose
The DIMEX card serves as a crucial identification for foreigners living in Costa Rica. This card is issued by the Dirección General de Migración y Extranjería and acts as the official residency document. It is essential for establishing your legal status in the country.
It’s important to distinguish the DIMEX card from a cedula, which is reserved for Costa Rican citizens. While a visa may grant temporary entry for up to 180 days, the DIMEX card ensures long-term residency. This distinction is vital, as each document serves a different legal purpose and is governed by various immigration laws.
We emphasize that holding the correct card is critical for your residency status. The DIMEX card is the only valid proof of residency for foreign nationals. For more details on processing times, you can visit this link.
The Importance of Keeping Your Residency Documents Updated
Keeping your residency documents up to date is vital for a smooth experience in Costa Rica. An accurate name on your residency card can prevent many complications. If your DIMEX card does not reflect your current legal name, you may encounter hurdles when opening new bank accounts or signing contracts.
Moreover, without a valid residency card, you could be charged higher non-resident prices at national parks. This can significantly impact your enjoyment of the beautiful attractions Costa Rica has to offer.
We have seen how a simple mismatch in names can delay your daily activities. Thus, we prioritize keeping your residency status current. The process of updating your documents ensures that your legal identity matches your official records, helping you avoid potential issues during routine immigration checks.
Eligibility and Requirements for a Name Change
Understanding the eligibility criteria for a name change on your DIMEX card is essential for all residents. Each individual’s situation may vary based on their residency category and the documentation they can provide.
To begin the process, you must present your current passport in a readable and undamaged condition. Additionally, proof of enrollment in the CAJA social security system is mandatory for all residents.
The required documents for your application may differ depending on whether you are a temporary or permanent resident. We recommend verifying your status in the CCSS system beforehand to ensure you meet all requirements before starting the name change process.
Every case depends on your nationality and family situation. Thus, having the correct paperwork is the first step toward a successful modification.
The Step-by-Step Process to Initiate a Name Change
The process of updating your DIMEX card name involves several important steps. First, you need to secure an appointment through official channels. You can do this by calling 1311 or visiting the BCR website.
Next, preparing your documents in advance is critical. Incomplete files can lead to rejection on-site, so ensure everything is in order. Arriving at least 10 minutes before your scheduled appointment is advisable. This allows the staff to process your request efficiently.
During your appointment, you will submit your current DIMEX card along with any legal proof required for the name update. We guide our clients through this application process to ensure that every detail is handled correctly and that the appointment goes smoothly.
Exploring the costa-rica-dimex-name-change Process
Understanding the protocols involved in updating your DIMEX card is essential for a smooth transition. The costa-rica-dimex-name-change process involves a series of strict protocols managed by the Dirección General de Migración y Extranjería to ensure data integrity.
Once your information is validated, the DGME prints your new DIMEX card and sends it to the post office branch you selected during your appointment. You must follow the established procedures for document submission, as any deviation can lead to delays in receiving your updated residency card.
We emphasize that the process is designed to be secure, requiring you to present your identification in person when you finally collect your card. Understanding these protocols helps you manage your expectations regarding the timeline for receiving your updated documents after the initial application is filed.
Navigating Costa Rica Immigration Procedures for Document Modifications
Understanding the immigration procedures in Costa Rica is essential for anyone looking to modify their residency documents. The Dirección General de Migración y Extranjería (DGME) oversees all immigration category changes. This office is responsible for auditing your residency status and approving any modifications to your official identification card.
Government guidelines are updated periodically to reflect new laws. Therefore, staying informed about these changes is crucial. We help you interpret these government guidelines so that you can comply with the latest rules regarding your residency and document modifications.
Our goal is to make the complex world of Costa Rica immigration easier to navigate. By providing clear, factual information about the current requirements, we ensure that you are well-prepared for any updates you need to make.
How We at CRIE Support Your Residency and Immigration Needs
At CRIE, we have dedicated over two decades to supporting clients with their residency and immigration needs. Our extensive experience allows us to provide reliable and practical assistance tailored to each individual’s situation.
We believe that personalized guidance is essential for a successful residency experience. Our focus is on understanding your unique needs and circumstances, ensuring that you receive the best possible support.
Johanna Alvarez, our immigration expert, is available to discuss your case, provide pricing, and outline the next steps for your document modifications. You can reach out to us via WhatsApp at +506 8706 3888, email us at info@crie.cr, or visit our website at crie.cr for more information.
Our team is dedicated to helping you maintain your residency status by ensuring your documents are handled with the care and expertise you deserve.
Common Pitfalls and How to Avoid Them During a Name Change

Many individuals encounter challenges during the name update process for their DIMEX card. Missing appointments can lead to unnecessary delays in getting your updated card. It’s crucial to confirm the location and requirements before your scheduled appointment.
One of the most common pitfalls is failing to bring the original documents required for your specific residency category. This can cause immediate rejection of your application.
To avoid these issues, ensure that your paperwork is organized. Verifying your status in the CCSS system before your appointment is also essential.
Another frequent mistake is relying on outdated information. Always check the latest guidelines from the immigration office before starting the process.
By preparing thoroughly and following our advice, you can avoid the frustration of having to repeat the application process due to simple errors.
Tips for Ensuring the Accuracy of Your Documents
A meticulous approach to your documentation can significantly ease the name change process. Ensuring the accuracy of your documents is the best way to prevent delays when you are updating your name on your residency card.
We recommend that you verify your CCSS status online to ensure you have proof of coverage before you attend your scheduled appointment. This step is crucial in avoiding complications during the process.
Always keep a copy of your application voucher, as this serves as essential proof that you have initiated the process while waiting for your card. Additionally, double-check that the names on your birth certificate and other legal documents match exactly what is recorded in the immigration system.
Taking the time to verify every detail of your documents will save you significant time and effort throughout the entire residency update process. For more guidance on managing document discrepancies, you can visit this link.
Appointment Scheduling Tips for Your DIMEX Name Change
Scheduling your appointment for a DIMEX card update requires careful planning. Choosing the right service location is the first step. You can opt for various Banco Costa Rica branches or Correos de Costa Rica locations based on your convenience.
To streamline the process, we suggest using the toll-free number 800-BCRCITA for booking your appointment. Be ready to navigate the Spanish menu or seek help if necessary. This can save you time and ensure your appointment is secured.
Here are some tips for a smooth booking experience:
- Select a location that is less crowded for a more efficient visit.
- Confirm that your chosen BCR branch provides residency card modifications before booking.
- Plan your appointment well in advance, as popular locations can fill up quickly during peak seasons.
What to Expect on the Day of Your Appointment
Preparation is key to ensuring a successful appointment for your DIMEX card update. On the day of your appointment, arrive early and inform the security guard that you have a scheduled time. This helps you get directed to the right line quickly.
The staff will conduct a thorough documentation check. They will verify that your residency status and personal information match your application. If any issues arise on the spot, it’s important to remain calm. Providing the necessary proof or clarification can help resolve matters swiftly.
After your documents are processed, you will receive a Comprobante de Solicitud. This voucher serves as official proof that your residency card is being updated. We advise keeping this document safe, as it is your primary evidence until your new card arrives.
Comparing the Initial DIMEX Issuance with Subsequent Name Changes

Navigating the initial DIMEX card issuance can be significantly more complex than the subsequent name change. The first residency application requires a full audit of your legal status. This process can be daunting for many newcomers.
In contrast, subsequent name changes or renewals are generally more streamlined. Provided your residency category and personal information remain consistent over the years, these updates are less complicated.
While the initial application can take months to process, a name change is a targeted update to your existing residency card information. Understanding the difference between these two processes helps us feel more confident when updating our documents.
Regardless of the type of application, maintaining your residency status requires consistent attention to the rules set by immigration authorities. For more details on potential issues, visit this link.
Final Steps and How to Get Personalized Guidance
Finalizing your name update on the DIMEX card requires careful attention to detail. To complete this process, ensure you have paid all necessary fees in colones and keep your receipt ready for collection at the post office.
Typically, you will wait about 22 business days for your new card to arrive. Keep your application voucher handy during this time.
If you encounter any delays or have questions about your residency category, our team is here to support you. For personalized guidance and accurate pricing for your specific situation, please contact Johanna Alvarez at CRIE via WhatsApp at +506 8706 3888.
You can also reach us by email at info@crie.cr or visit our website at crie.cr to learn more about how we can assist you. We look forward to helping you keep your residency documents in perfect order so you can enjoy your life in Costa Rica with peace of mind.
FAQ
What is a DIMEX card and why is it important?
How do we change the name on our DIMEX card?
What documents are required for a name change?
How long does the name change process take?
Can we schedule an appointment online for the name change?
What should we expect on the day of our appointment?
Are there any fees associated with changing the name on our DIMEX card?
How can we ensure our documents are accurate before submission?
What are the common pitfalls we should avoid during this process?
How can we get personalized assistance with our residency needs?
Article by Glenn Tellier (Founder of CRIE and Grupo Gap)
Don't wait, contact us right now!
Call or WhatsApp Costa Rica +506 8373 2085 or +506 8706 3888
Call USA/Canada +1 305-906-6784